🌸 Flower Adventures
Not gonna lie… I went to THREE different stores just to make these arrangements 😭
At this point, I’m realizing flower arranging is never just about the flowers. It’s about patience, creativity… and apparently driving all over the city until something works.
This week? Definitely a flower adventure—but we made it work.
We didn’t have much luck with clearance this time, so I ended up going to two Kroger locations and Target just to pull everything together. But honestly, it worked out because I had enough to create three medium vases and one centerpiece bowl.
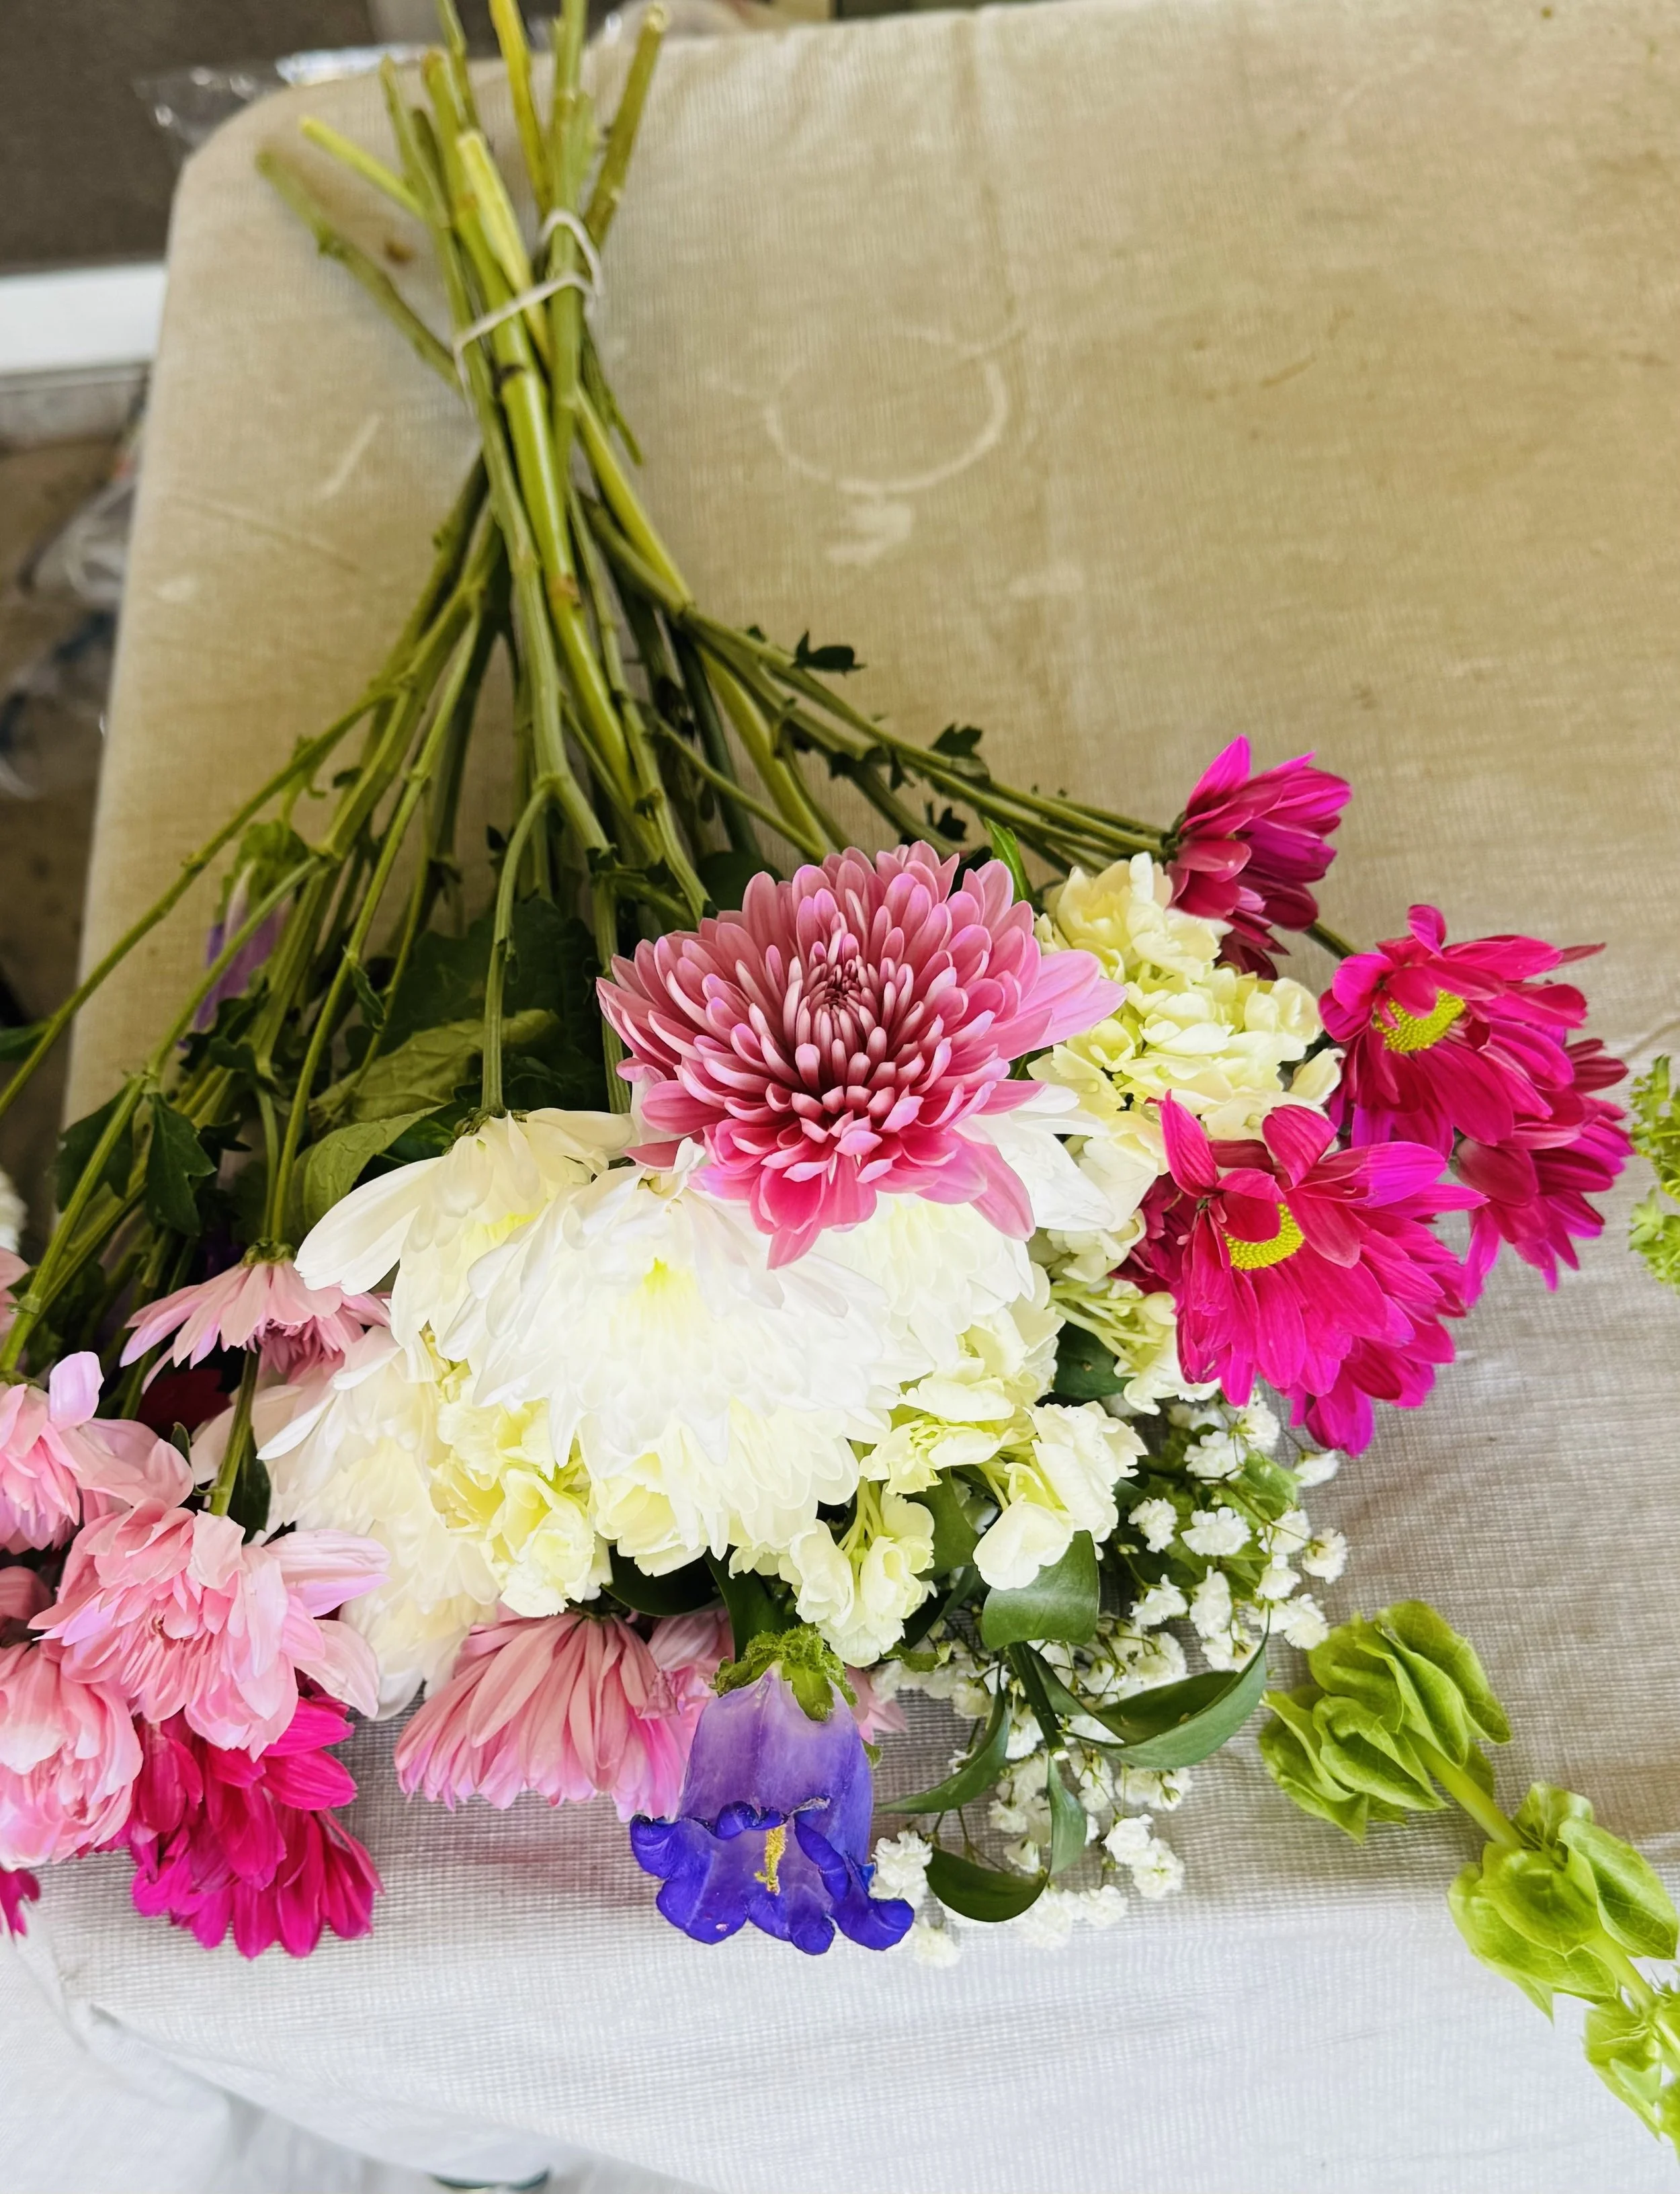
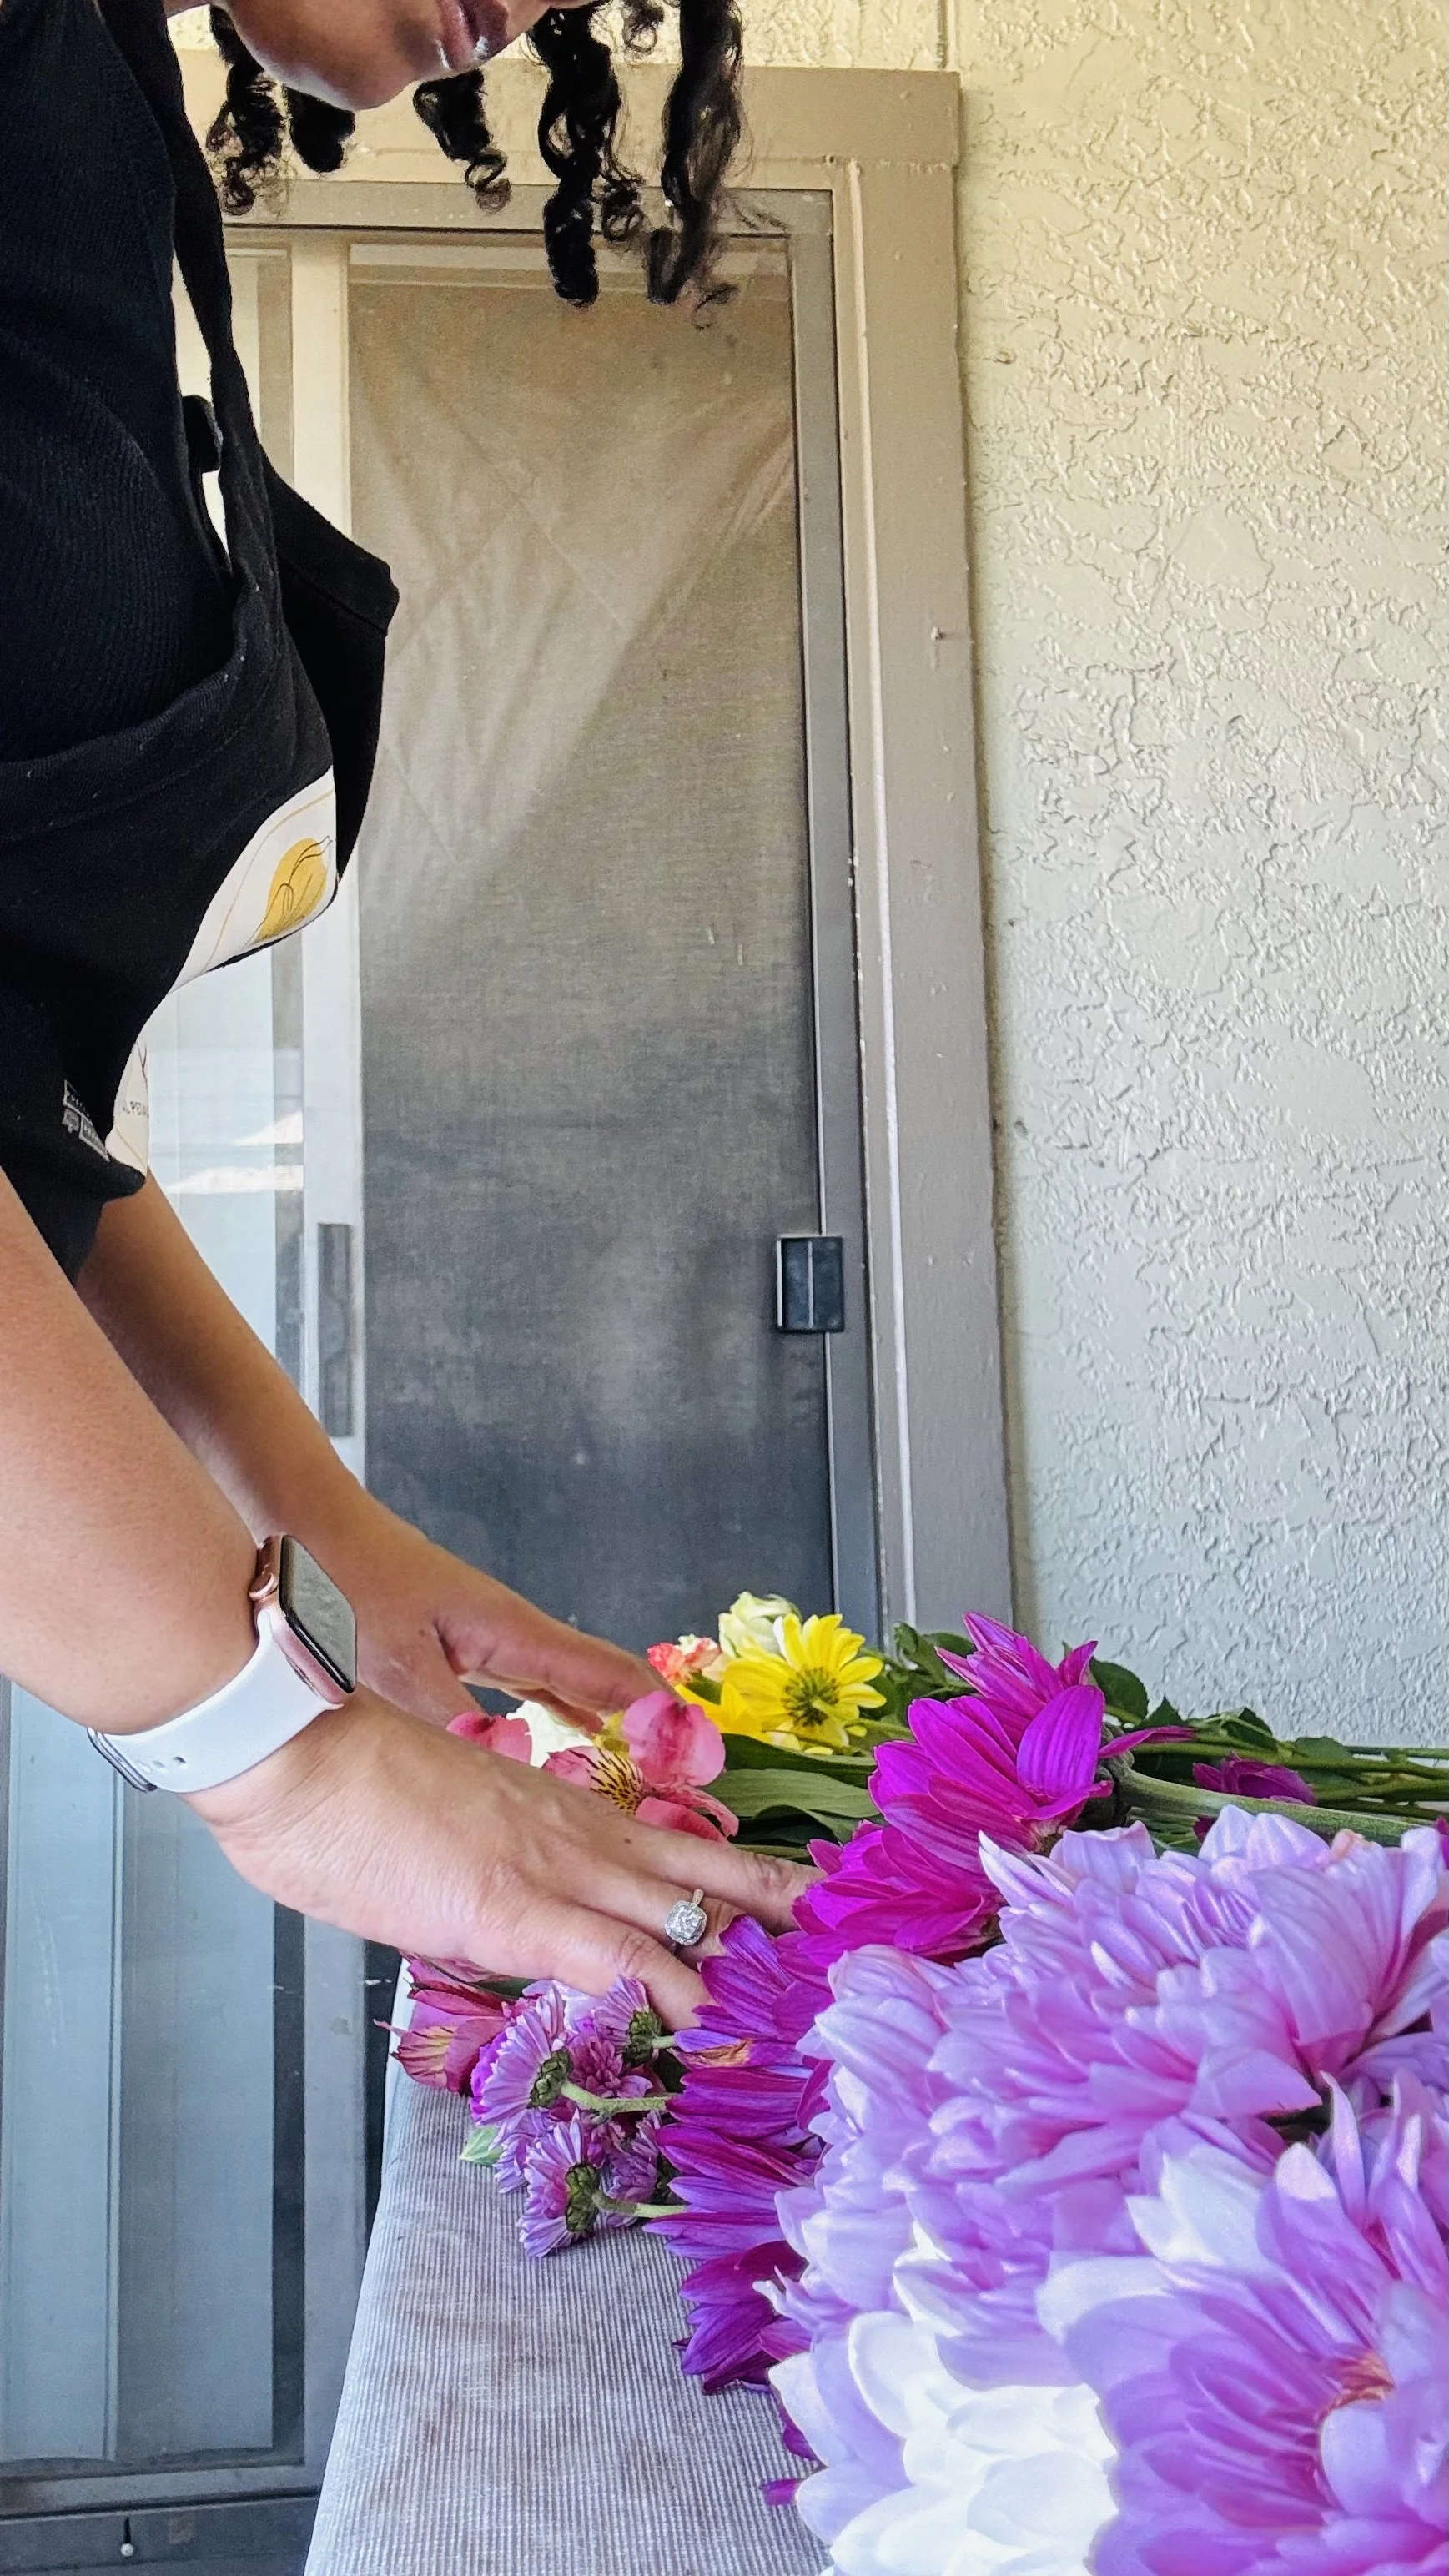
This week, I also tried to be a lot more intentional and step-by-step with my process. So you’ll see:
The flowers laid out
How I organized them by color and type
And how I went from simple bouquets to full arrangements
🌸 The Process
We started at Kroger, but the first location didn’t have much. From there:
I picked up a few clearance stems (including some bell-shaped flowers—later realizing these are lisianthus)
Grabbed alstroemeria and spray roses
Went to a second Kroger and found more variety (thankfully)
Picked up hydrangeas, mixed bouquets, carnations, and what looked like purple daisies (mums)
Ended up at Target for a couple extra stems to round everything out
So this week was a mix of clearance + full price flowers, which honestly made a huge difference in quality and variety.
🎬 Behind the Scenes
Before anything goes into a vase, this is what my setup actually looks like…

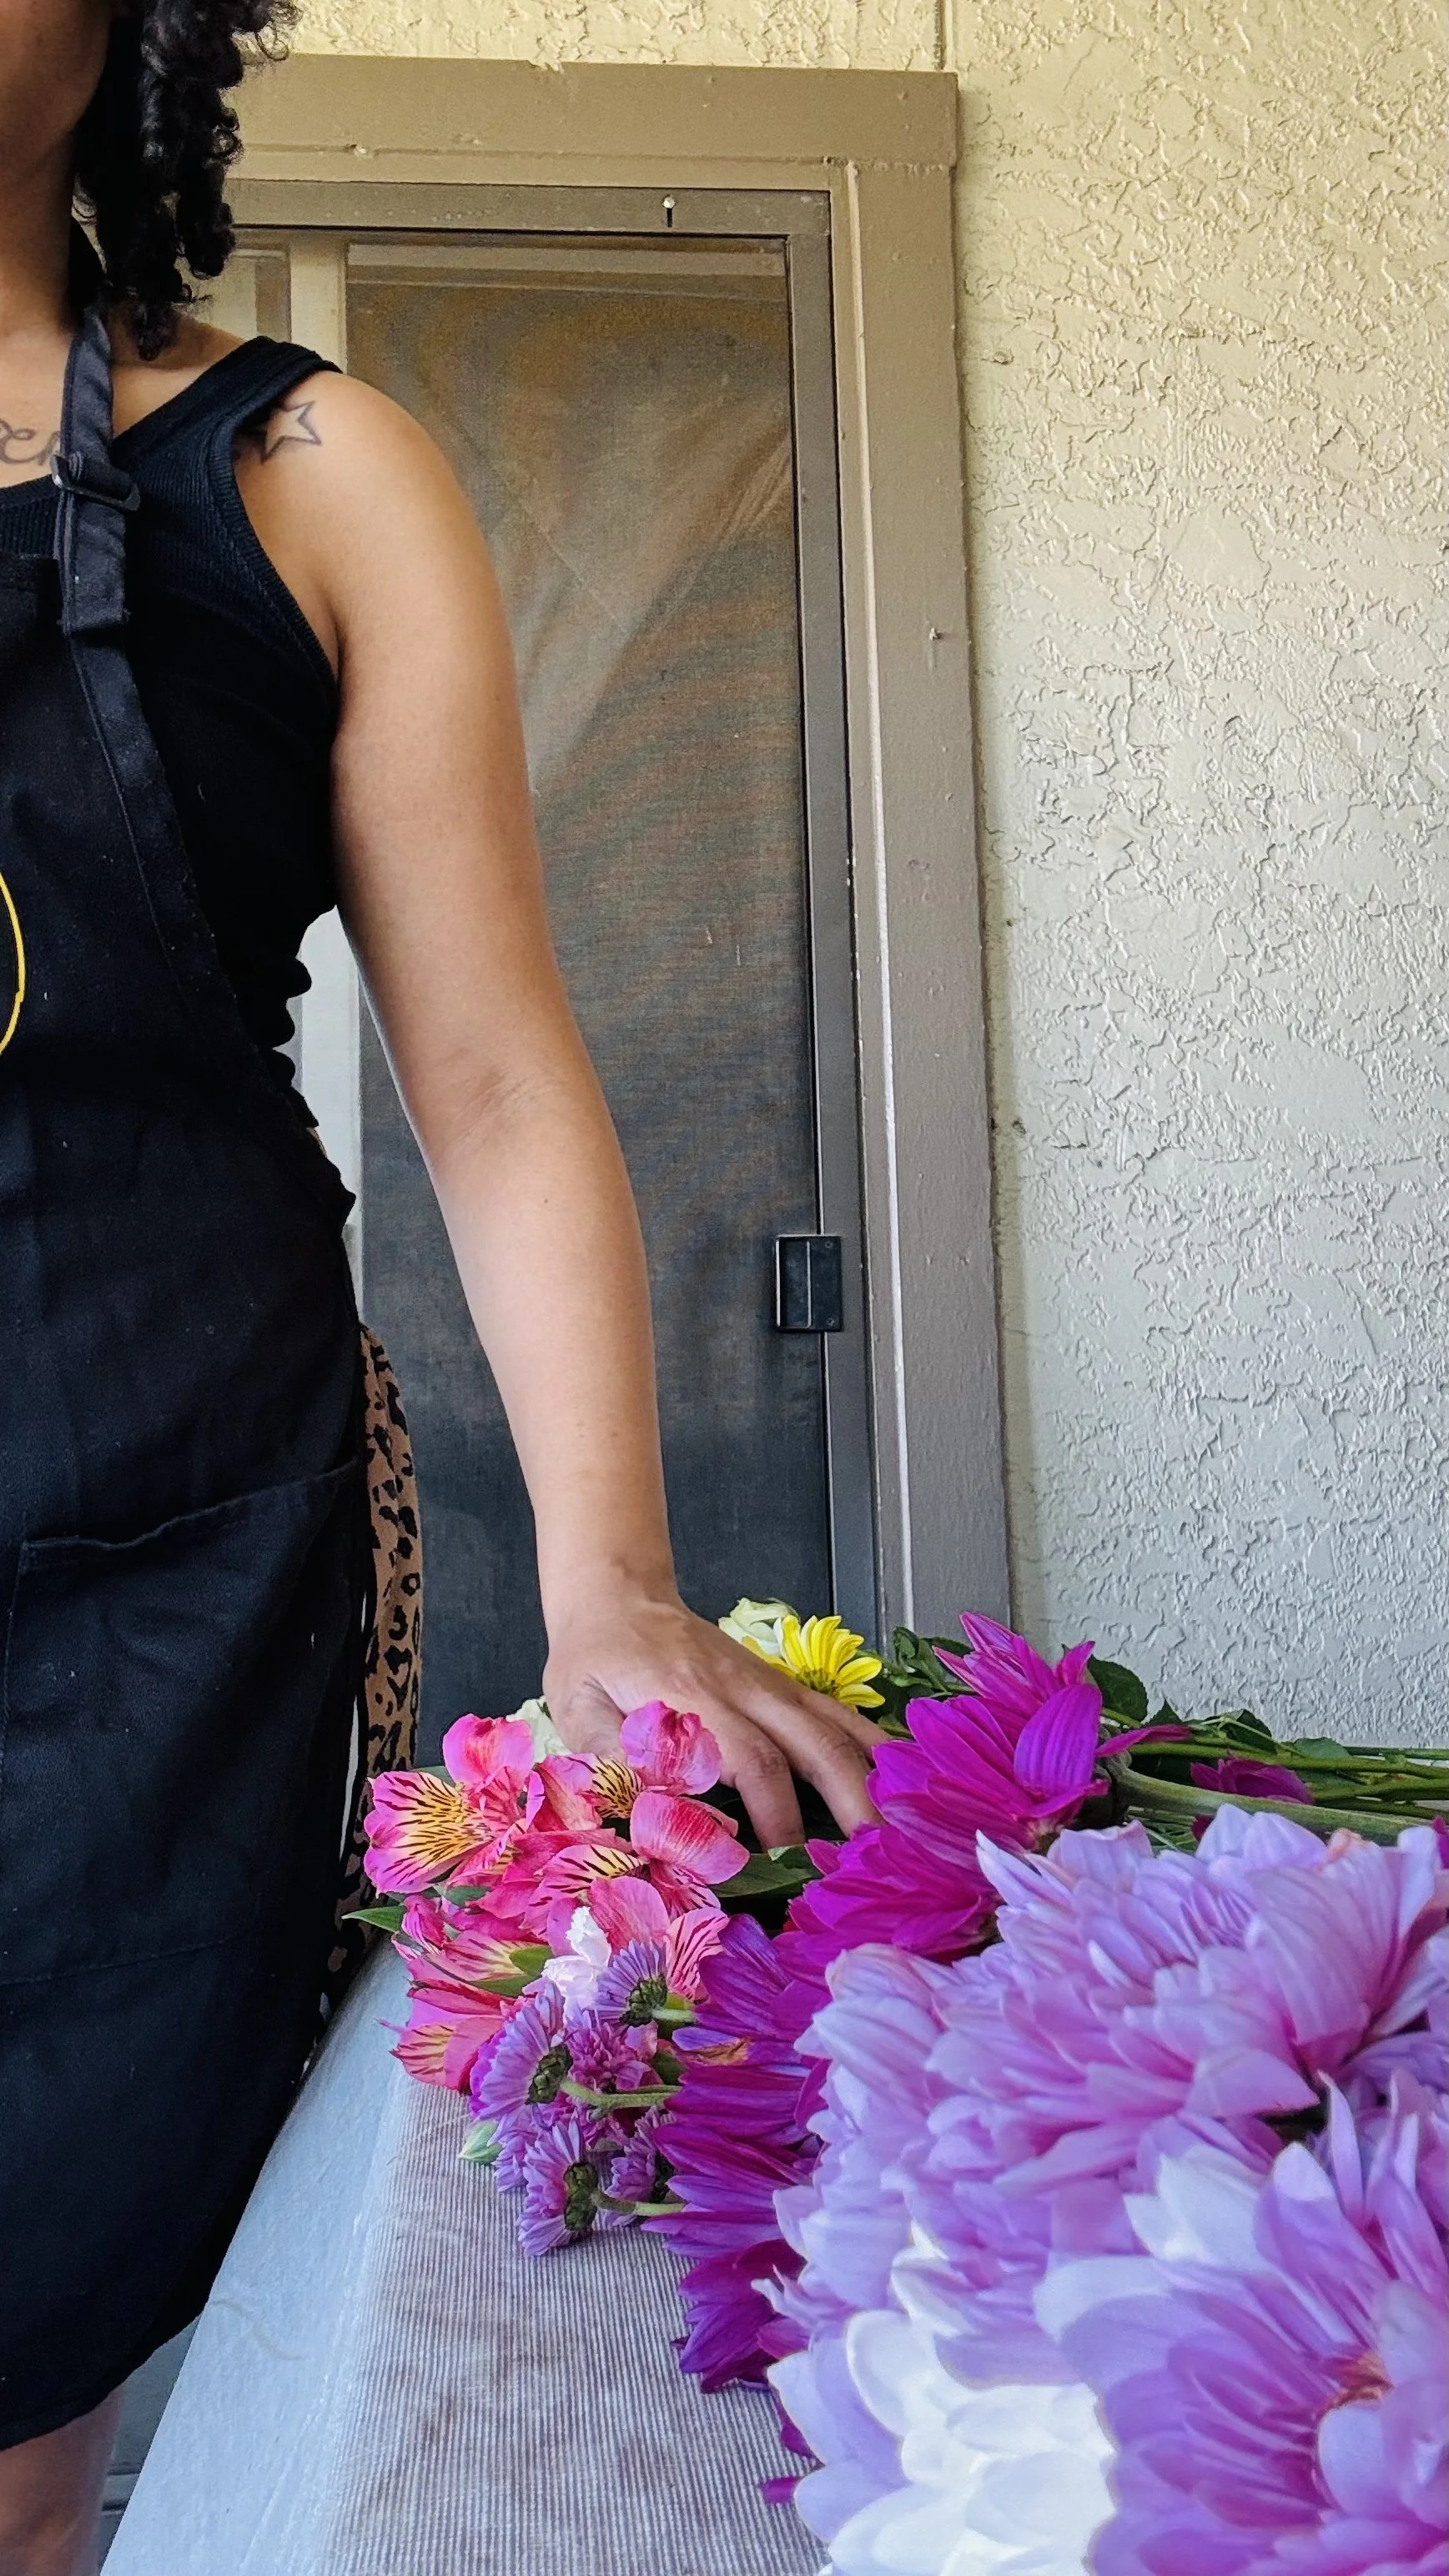
✂️ Prep Work (My Non-Negotiables)
Before arranging anything, I always:
Remove leaves from stems (especially anything below the water line)
Pull off any dead or wilted petals
Re-cut stems at an angle
Separate everything by color + flower type
Lay everything out from darkest to lightest
This step helps my brain actually see what I’m working with and makes the design process way smoother.
💅🏽 In The Moment
This is the part where I stop overthinking and just start placing things where they feel right.
Honestly, this is my favorite part.
It’s where everything starts to come together.
💐 What I Did Differently This Week
After cleaning and sorting everything, I tried something new:
👉 I built my bouquets in my hand first before placing them into the vase.
Instead of arranging directly in the vase, I:
Created a full bouquet first
Adjusted spacing and balance
Then placed it into the vase
And let me tell you…
✨ This made a HUGE difference.
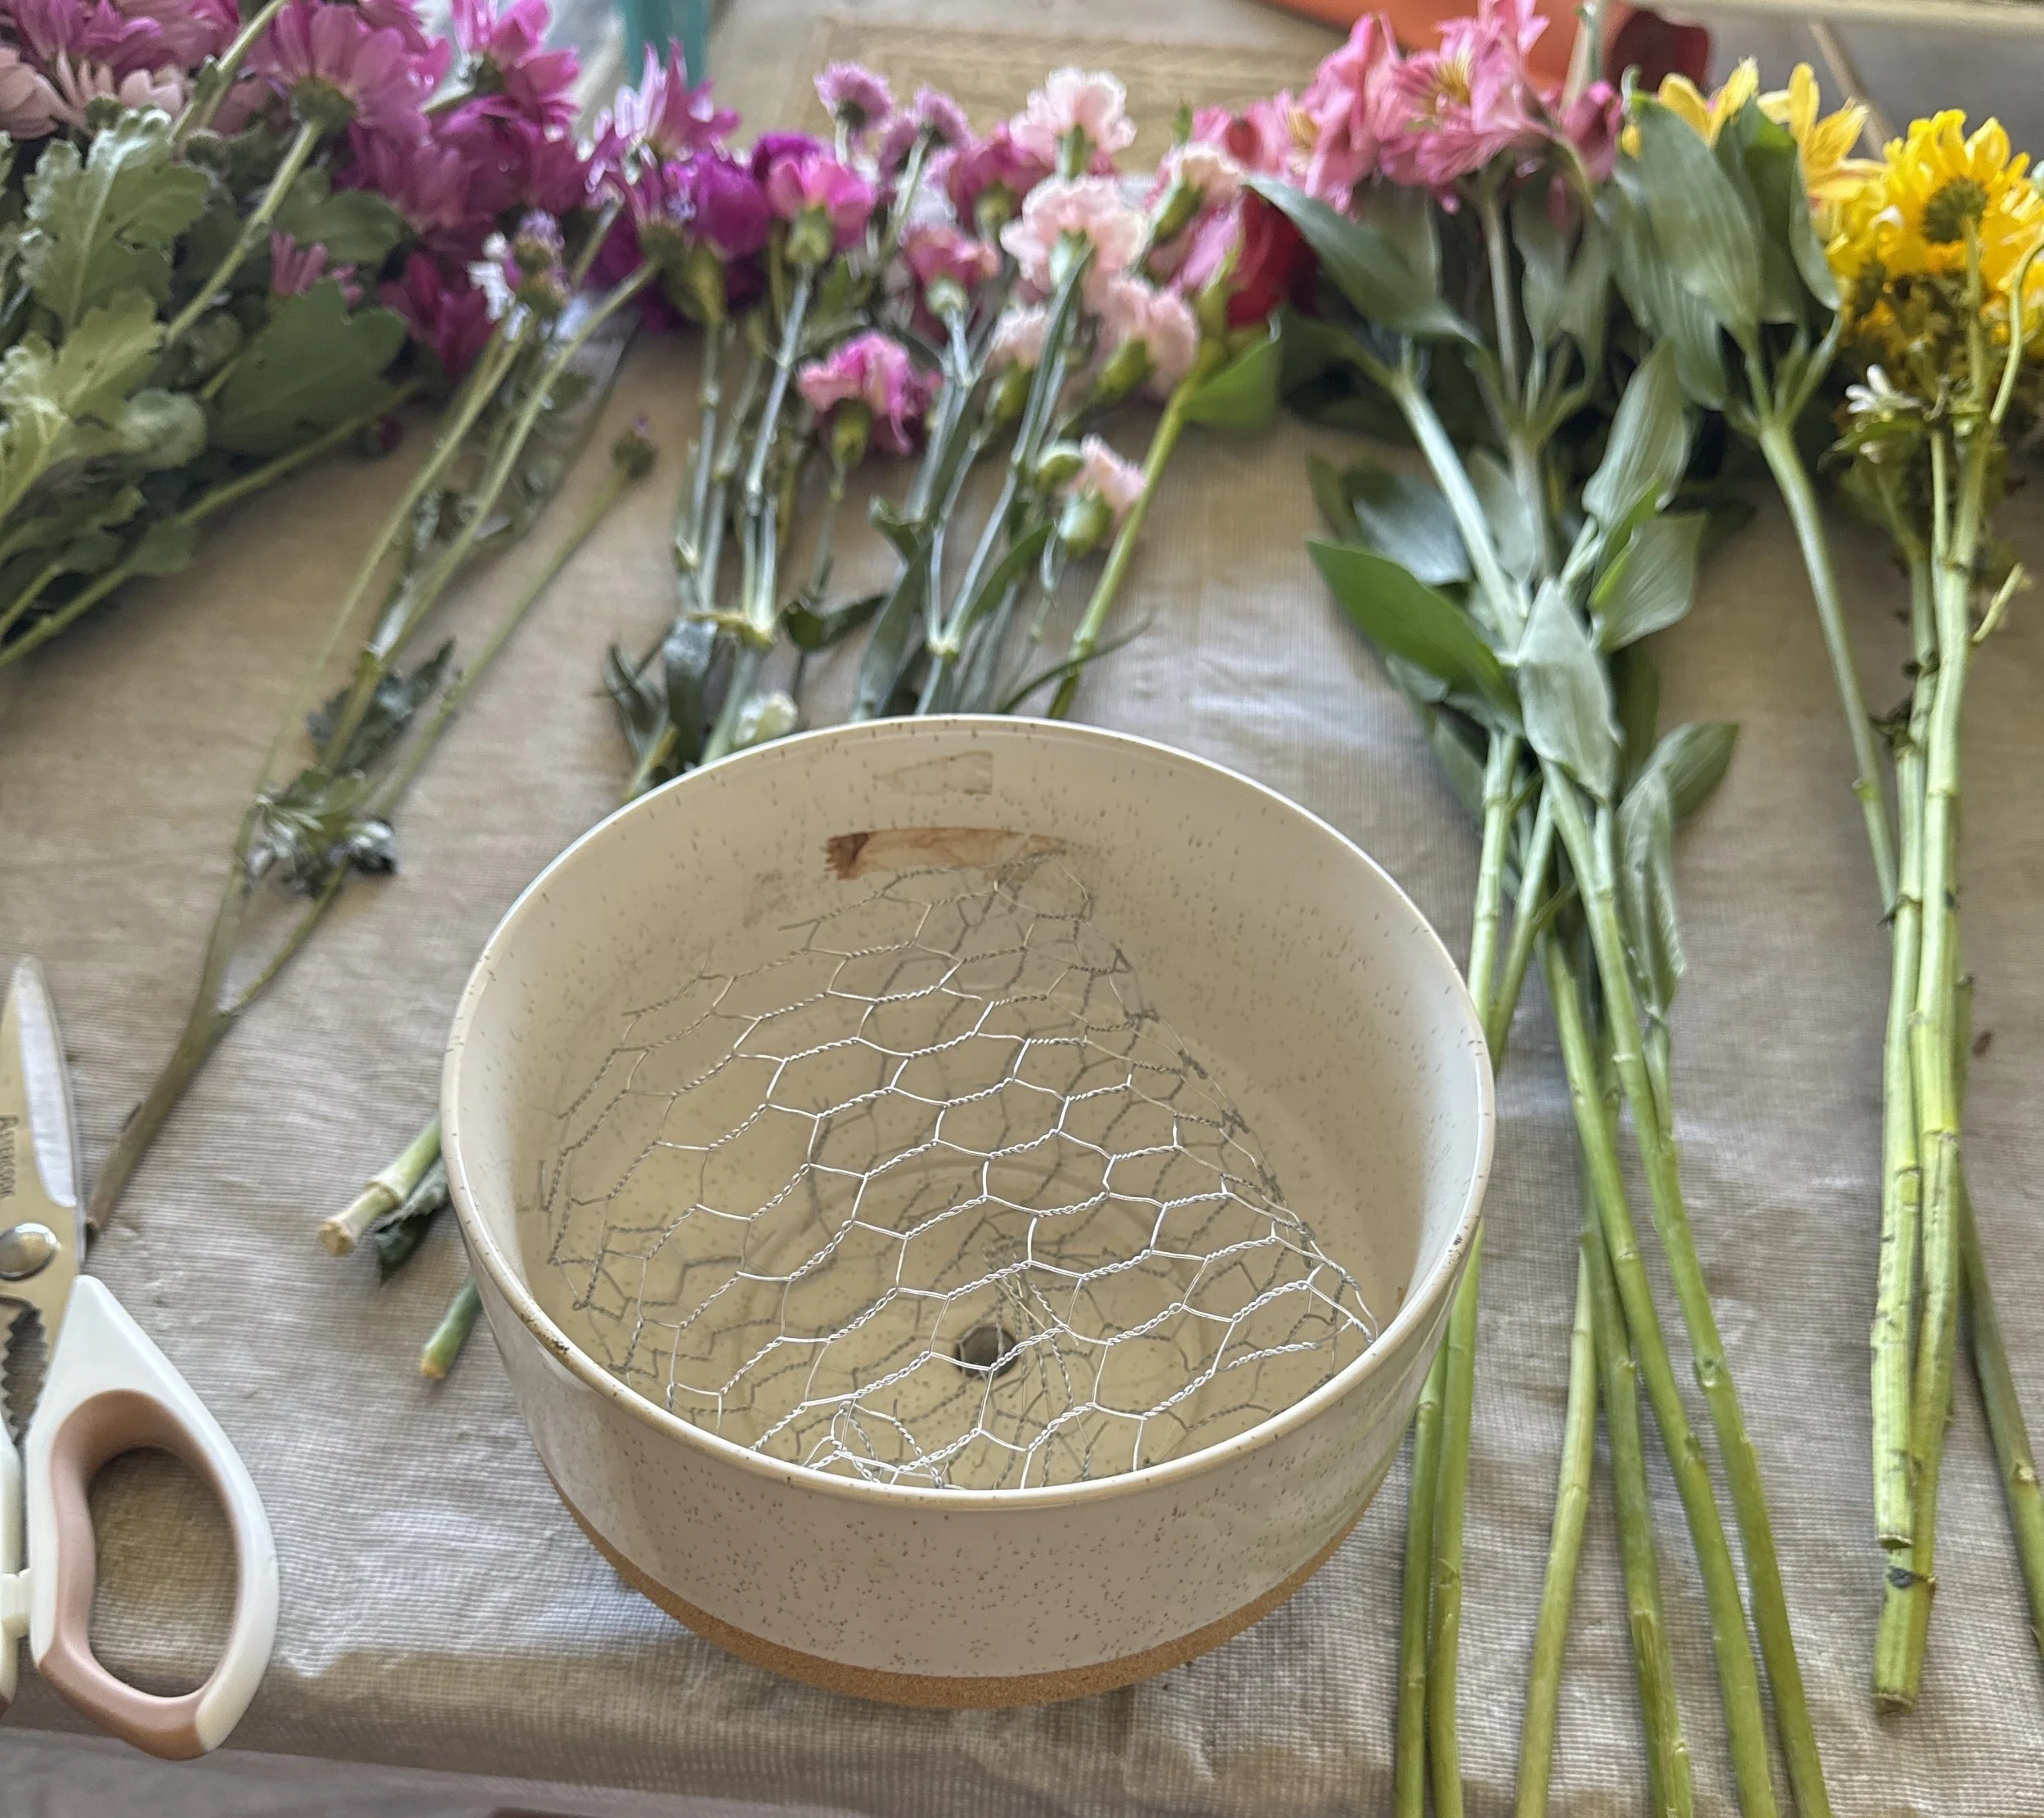
🌿 The Centerpiece (Chicken Wire Moment)
The main focus this week was the centerpiece bowl.
This was my first time using chicken wire, and here’s what I learned:
It works BEST for shallow, wide bowls
It does NOT work well for taller vases (learned that the hard way 😭)
You have to make sure it’s pushed down securely so it doesn’t move

How I built it:
Greenery around the outer edge
Spray roses + alstroemeria layered in
Hydrangeas placed in the center
Carnations added throughout for fullness
I did have to go back and trim a few stems because some were sticking out too far—but once I pulled everything in tighter, it came together beautifully.
Also…
✨ No more floral foam. Ever.
Chicken wire is:
Cleaner
Easier to maintain
Better for water access
Easier to refresh and rearrange
⏱️ Time Check
This weeks four arrangements took me about 3–3.5 hours total.
Between:
Cleaning flowers
Building bouquets
Adjusting stems
And creating the centerpiece
…it definitely took longer than usual—but it was worth it.
🌸 Arrangement Breakdown
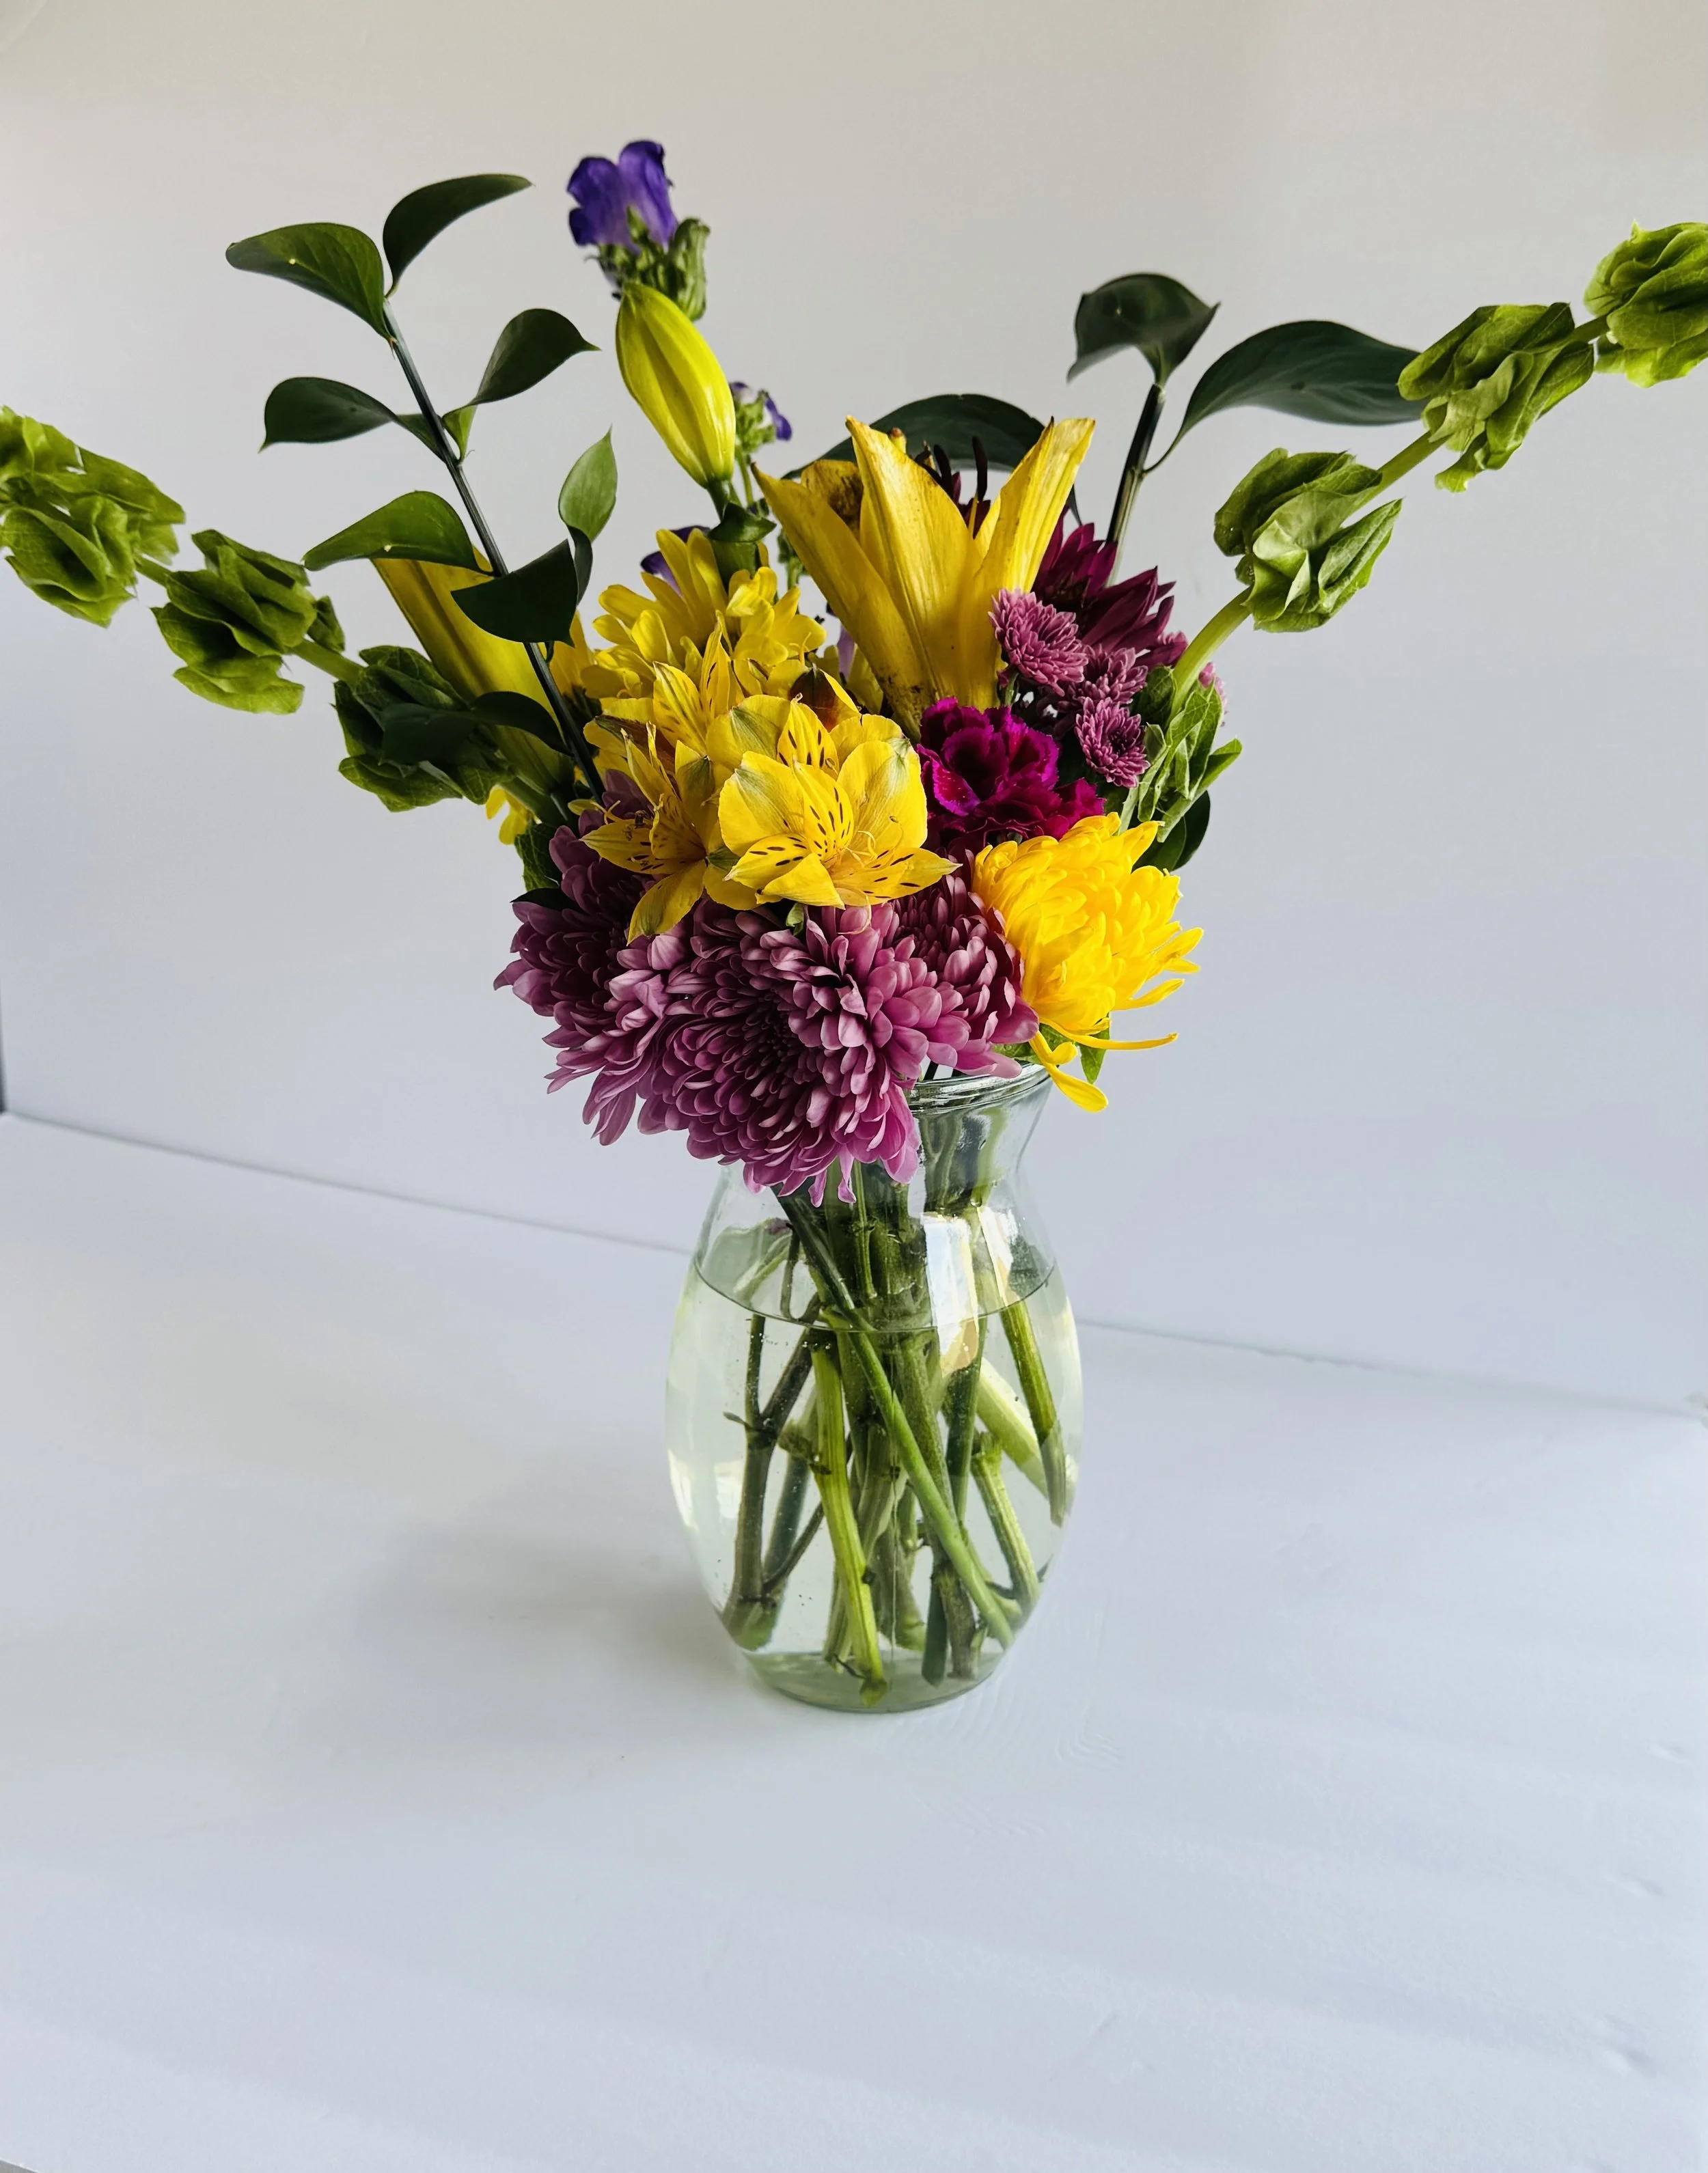
🌼 Arrangement #1: Bright & Sunny Mix
Flowers used:
Yellow lilies
Yellow alstroemeria
Purple chrysanthemums (mums)
Magenta mini carnations
Green button mums (the small round green blooms)
Greenery accents
This one is giving sunshine with a little drama ☀️
The yellow lilies and alstroemeria really brighten everything up, while the deeper purples and magentas ground the arrangement so it doesn’t feel too loud.
I let some of the stems sit taller and a little more relaxed, which gives it that natural, slightly wild look.
✨ Bright, playful, and full of personality.
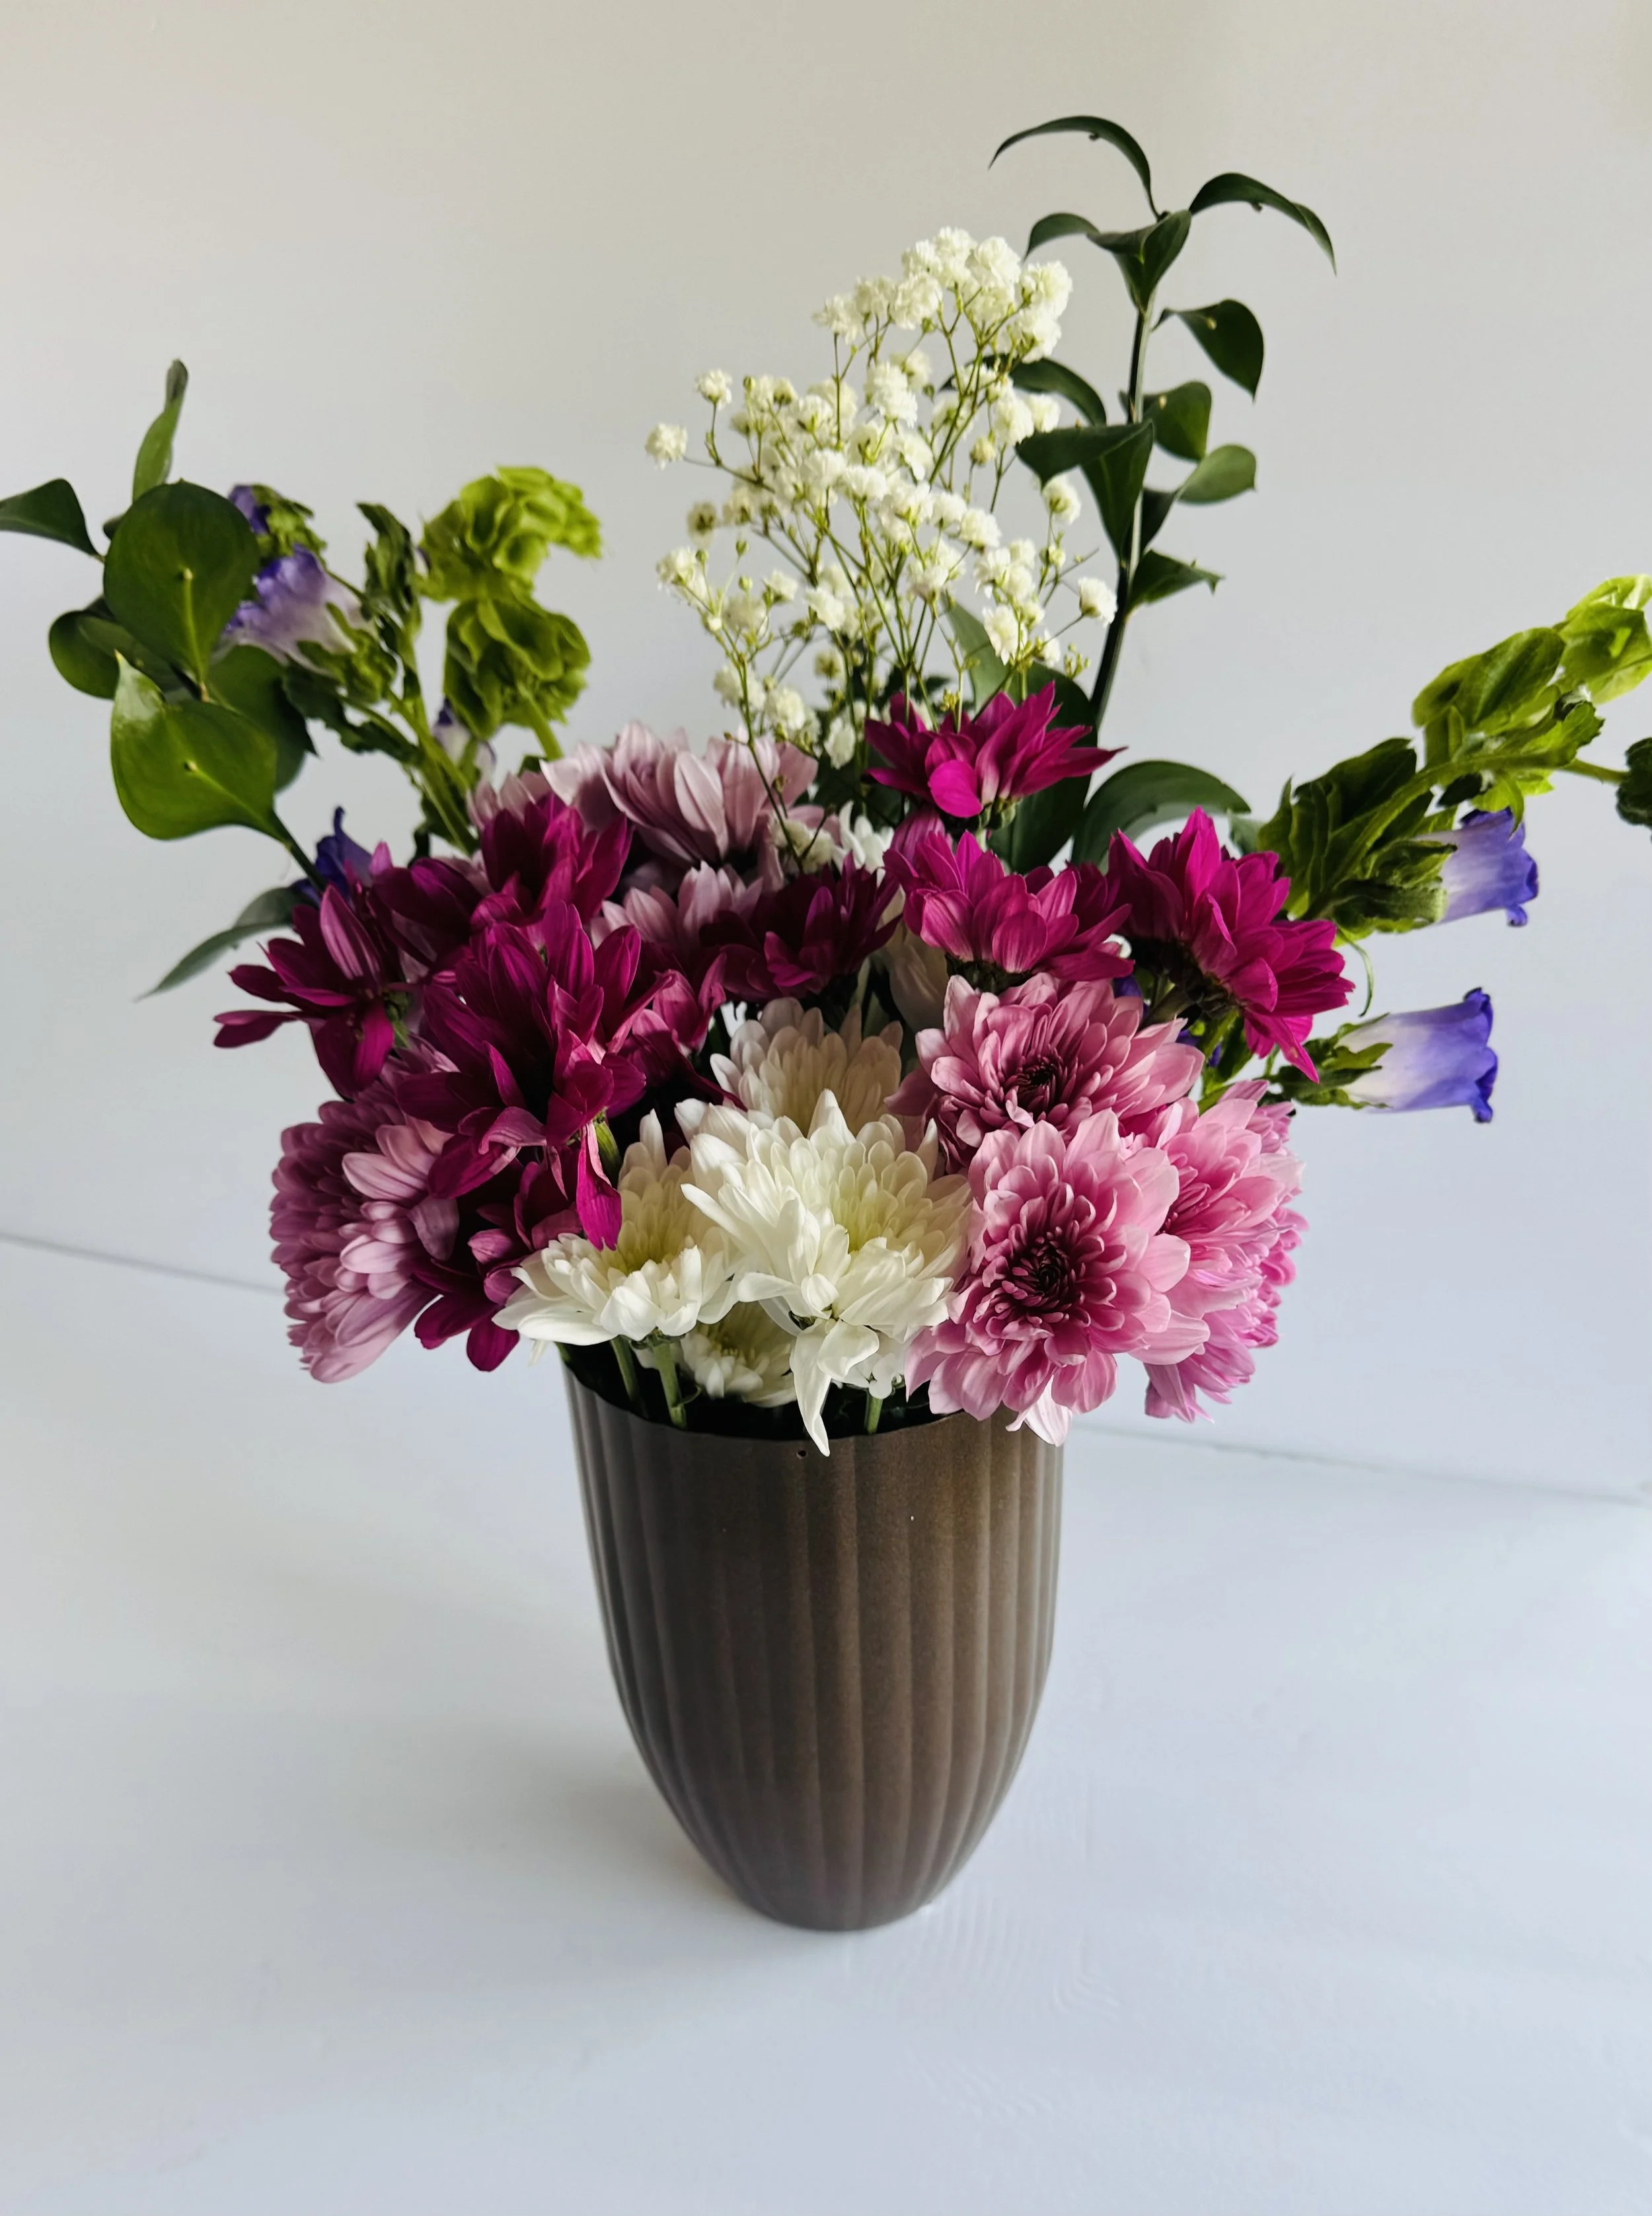
💕 Arrangement #2: Pink & Soft Romantic Blend
Flowers used:
Pink chrysanthemums (mums)
Magenta daisy mums
White chrysanthemums
Baby’s breath
Bell-shaped purple flowers (likely campanula or lisianthus)
Light greenery
This one is definitely the softest and most balanced arrangement of the bunch.
I stayed mostly in that pink family, layering different tones—from deep magenta to soft blush—and then broke it up with white mums to keep everything from feeling too heavy.
The baby’s breath adds just enough airiness, and those soft purple bell-shaped flowers give it a little unexpected detail without taking over.
✨ Soft, feminine, and effortlessly put together.

🫣 Arrangement #3: The Leftovers (Real Life Edition)
(No photo for this one—and that’s okay 😂)
Flowers used:
Leftover purple and white stems
Extra greenery (including that cabbage-style greenery)
Misc filler flowers
I’m not even going to sugarcoat it…
This one was not my favorite 😭
But honestly? This is part of the process.
Not every arrangement is going to hit. Sometimes you’re just working with what’s left, experimenting, and figuring out what doesn’t work together.
This one taught me:
Certain greenery doesn’t pair well with every flower
Color balance matters more than I thought
Structure falls apart QUICK if you’re just throwing things together
✨ Not perfect—but still part of the journey.
💡 What I Learned This Week
Chicken wire > floral foam (for me)
Don’t be afraid to cut stems shorter for better structure
Build bouquets first—it changes everything
Not every greenery works with every arrangement
Vase shape and opening size really matter
Mixing flower types makes arranging way more fun
✨ Glow Tip of the Week
Instead of building your arrangement directly in the vase…
👉 Create your bouquet in your hand first.
It helps you:
See your color story
Balance your flowers
Control your structure
Then placing it into the vase becomes 10x easier.